How to Braid Box Braids: Avoid 35% Scalp Pain Risk
Loading campaign…
How to Braid Box Braids: Avoid 35% Scalp Pain Risk
Many people struggle with scalp pain and uneven box braids due to improper technique. This guide shows you how to prepare, braid, and care for your box braids properly to avoid these issues. You’ll learn the essential steps to create healthy, long-lasting, protective, and culturally expressive box braids without damage.
Table of Contents
- Prerequisites And Preparation
- Step-By-Step Braiding Process
- Common Mistakes And Warnings
- Expected Results And Timelines
- Maintenance And Aftercare
- Alternative Approaches And Tradeoffs
- Discover Expert Box Braiding Services In Antwerp
- FAQ
Key Takeaways
| Point | Details |
|---|---|
| Proper cleansing and detangling before braiding prevents scalp irritation and uneven braids | Deep condition 1 to 2 days before braiding to create a healthy foundation |
| Sectioning hair into 1 inch squares and moderate tension avoids damage and ensures neatness | Keep tension below 15% to prevent traction alopecia and scalp pain |
| Regular moisturizing and night coverage extend braid life and maintain scalp health | Moisturize every 2 to 3 days and cover hair at night with satin |
| Box braids generally last 6 to 8 weeks with correct care balancing style and protection | Longevity depends on maintenance routine and braid size |
| Knotless and crochet braids offer gentler alternatives for sensitive scalps | These styles reduce tension points compared to traditional box braids |
Prerequisites and Preparation
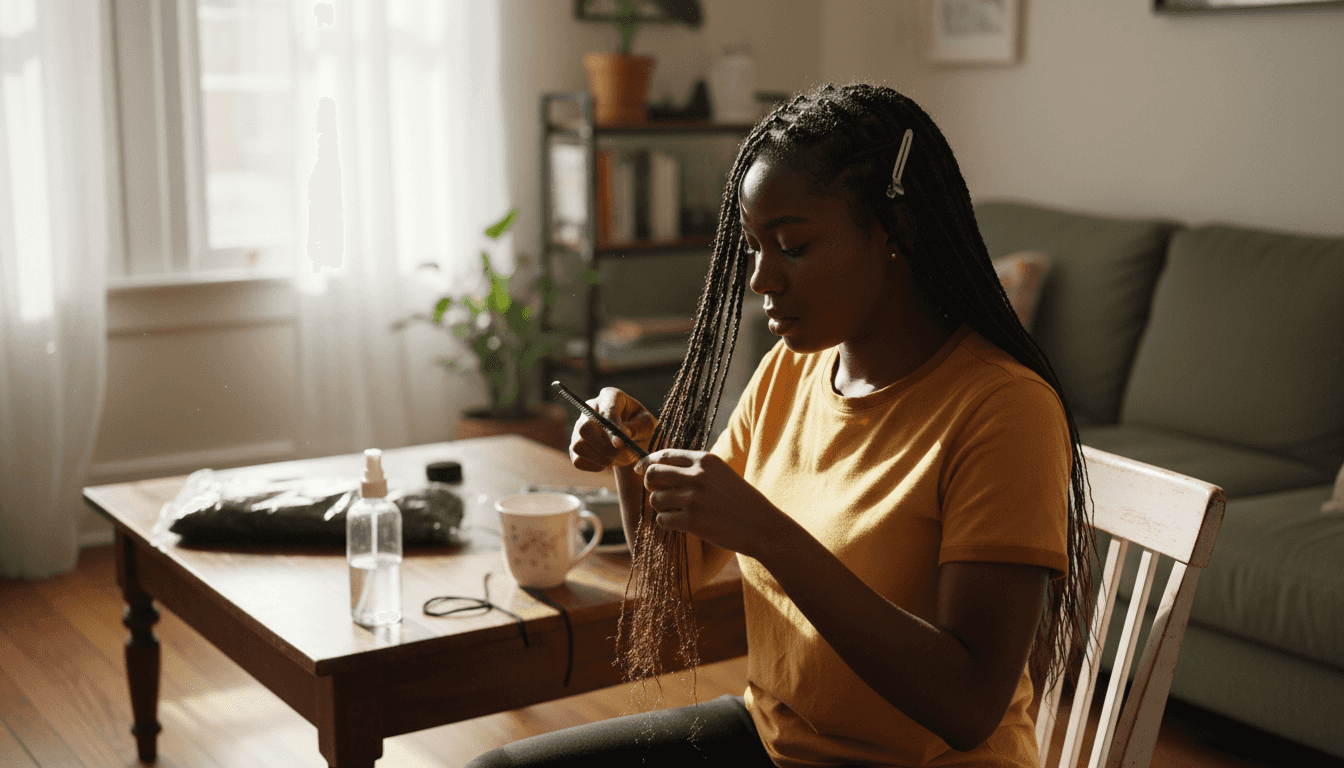
Having understood key takeaways, you need to prepare your hair and gather the right tools before starting. Proper cleansing and deep conditioning before braiding reduces scalp irritation and hair breakage, setting a healthy foundation for box braids lasting up to 6 to 8 weeks. Cleanse and deep condition your hair 1 to 2 days before braiding to remove buildup and strengthen strands.
Thoroughly detangle your hair using a wide-tooth comb or detangling brush to prevent knots and ensure even braids. Start from the ends and work your way up to the roots to minimize breakage. This step is crucial for a smooth box braids preparation guide experience.
Gather these essential tools and products before you begin:
- Wide-tooth comb or detangling brush for gentle detangling
- Kanekalon synthetic braiding hair for extensions
- Moisturizing spray or leave-in conditioner to keep hair hydrated
- Natural oils like coconut or jojoba for scalp nourishment
- Hair clips or bands for sectioning
- Rat-tail comb for precise parting
- Edge control gel for smooth edges
Pro Tip: Use a moisturizing spray during detangling to ease combing and preserve moisture, making the entire process gentler on your hair.
Here’s a detailed breakdown of essential tools and their purposes:
| Tool/Product | Purpose | Recommended Type |
|---|---|---|
| Wide-tooth comb | Gentle detangling without breakage | Seamless plastic or wood |
| Braiding hair | Add length and fullness | Kanekalon synthetic |
| Moisturizing spray | Maintain hydration during braiding | Water-based with natural oils |
| Natural oils | Nourish scalp and prevent dryness | Coconut, jojoba, or argan |
| Hair clips | Section hair for organized braiding | Metal or plastic clips |
| Rat-tail comb | Create precise 1 inch square parts | Fine-toothed metal or plastic |
For detailed deep conditioning guidance, focus on products that penetrate the hair shaft and provide lasting moisture. Your scalp and hair are now prepared for a healthy braiding experience.
Step-by-Step Braiding Process
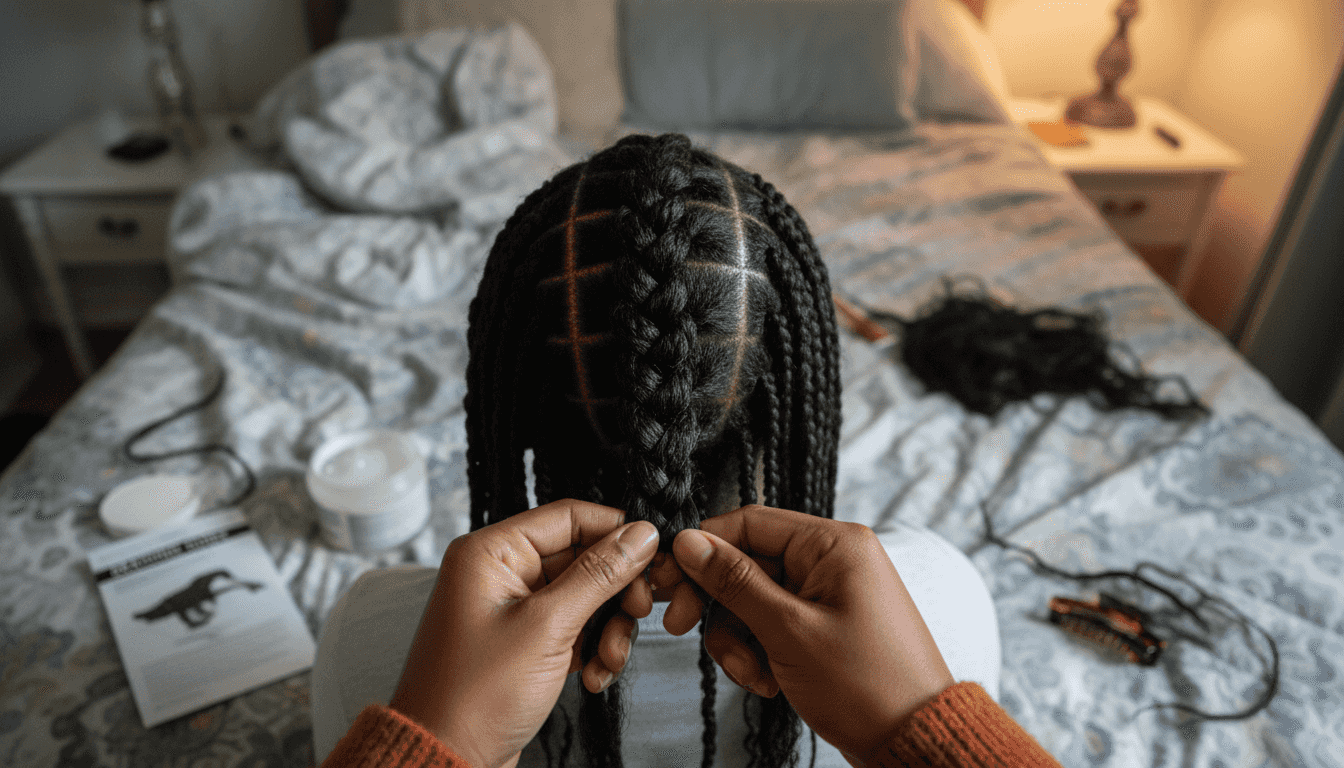
After preparing hair and tools, you’re ready to learn the precise braiding technique for best results. Follow these numbered steps to create consistent, healthy box braids:
- Section your hair into 1 inch square parts using a rat-tail comb for uniform braid size
- Clip away surrounding hair to keep your workspace clear
- Apply a small amount of edge control gel to smooth the section
- Take a small piece of Kanekalon synthetic hair and fold it in half
- Place the folded extension at the root of your natural hair section
- Divide the combined hair into three equal strands
- Begin braiding by crossing the right strand over the middle, then the left over the new middle
- Continue braiding down the length, maintaining consistent tension
- Keep tension controlled at no more than 15% scalp pull to avoid damage
- Secure the end with a small rubber band or by dipping in hot water for synthetic hair
- Repeat the process for each section until your entire head is braided
- Take breaks every 2 to 3 hours to reduce scalp strain and hand fatigue
Adding synthetic braiding hair during the braid increases length and fullness; Kanekalon synthetic hair is preferred for its smooth texture and reduced scalp irritation. The key to successful box braids step-by-step instructions is consistency in section size and tension control.
Pro Tip: Wet your hair slightly before braiding for better grip and less frizz, making the braiding process smoother and the final result neater.
For detailed information on Kanekalon synthetic hair benefits, look for brands that offer pre-stretched or pre-looped options to save time. The right extension hair makes a significant difference in both the braiding process and final appearance.
Common Mistakes and Warnings
With safe technique understood, you need to recognize and avoid errors that harm your scalp and hair. Braiding too tightly causes scalp pain and hair thinning in 35% of novice braiders, avoidable by moderate tension and breaks during braiding. Too-tight braiding increases the risk of traction alopecia, a form of hair loss caused by prolonged pulling on hair follicles.
Avoiding excessive tension when braiding reduces the risk of traction alopecia, with expert recommendations limiting tight braiding to 10 to 15% scalp tension levels. Listen to your scalp; if you feel significant pulling or pain, loosen the braid immediately.
Expert recommendation: Keep scalp tension at or below 15% to prevent long-term damage and ensure comfortable, healthy box braids that don’t compromise your natural hair health.
Avoid these frequent common braiding mistakes that can ruin your braiding experience:
- Braiding too tightly causes immediate scalp pain and long-term traction alopecia risk
- Skipping detangling leads to knots trapped inside braids and uneven appearance
- Neglecting moisturizing results in dry, itchy scalp and brittle hair prone to breakage
- Forgetting night protection allows friction to frizz braids and weaken hair strands
- Using low-quality extension hair creates a rough texture and increases tangling
- Making inconsistent section sizes produces uneven braid thickness and unprofessional look
- Rushing the process without breaks causes hand fatigue and sloppy technique
For comprehensive braid tension safety tips, remember that gentle braiding preserves your hair’s integrity. Additional guidance on scalp pain and alopecia prevention emphasizes the importance of recognizing early warning signs like tenderness, bumps, or excessive shedding.
If you experience persistent pain or notice hair thinning, remove the braids immediately and consult a professional. Your hair health should always be the priority over achieving a particular style.
Expected Results and Timelines
Next, explore realistic expectations for braiding duration, cost, and how long your box braids will last. Braiding time typically ranges 4 to 8 hours depending on braid size, hair length, and your skill level. Smaller braids take longer but last slightly longer, while larger braids install faster but may loosen sooner.
Box braids last approximately 6 to 8 weeks with proper maintenance including regular moisturizing and protective night coverage. The actual lifespan depends on your hair growth rate, how well you follow aftercare routines, and environmental factors.
Here’s a comparison of DIY versus professional braiding:
| Factor | DIY Braiding | Professional Braiding |
|---|---|---|
| Time Investment | 6 to 10 hours for beginners | 4 to 6 hours with experienced stylist |
| Cost Range | €30 to €60 for materials only | €80 to €150 depending on length and style |
| Skill Level Required | Moderate to advanced with practice | Expert technique and speed |
| Result Quality | Variable based on experience | Consistent, professional appearance |
| Scalp Safety | Risk of tension errors | Trained in safe tension control |
| Longevity | 4 to 6 weeks typical | 6 to 8 weeks with proper installation |
Several factors influence both time and cost:
- Braid size affects installation time with micro braids taking longest
- Hair length determines amount of extension hair needed and braiding duration
- Hair thickness impacts sectioning difficulty and overall time commitment
- Styling extras like beads, cuffs, or color increase both time and cost
- Experience level dramatically affects speed and final quality
- Geographic location influences professional service pricing
For detailed information on box braids duration and cost, consider your budget and time availability. Explore various box braids style options to find the perfect balance between your desired look and practical considerations.
Professional braiding often provides better value when you factor in time saved, reduced error risk, and longer-lasting results. However, learning to braid yourself offers flexibility and cost savings over time.
Maintenance and Aftercare
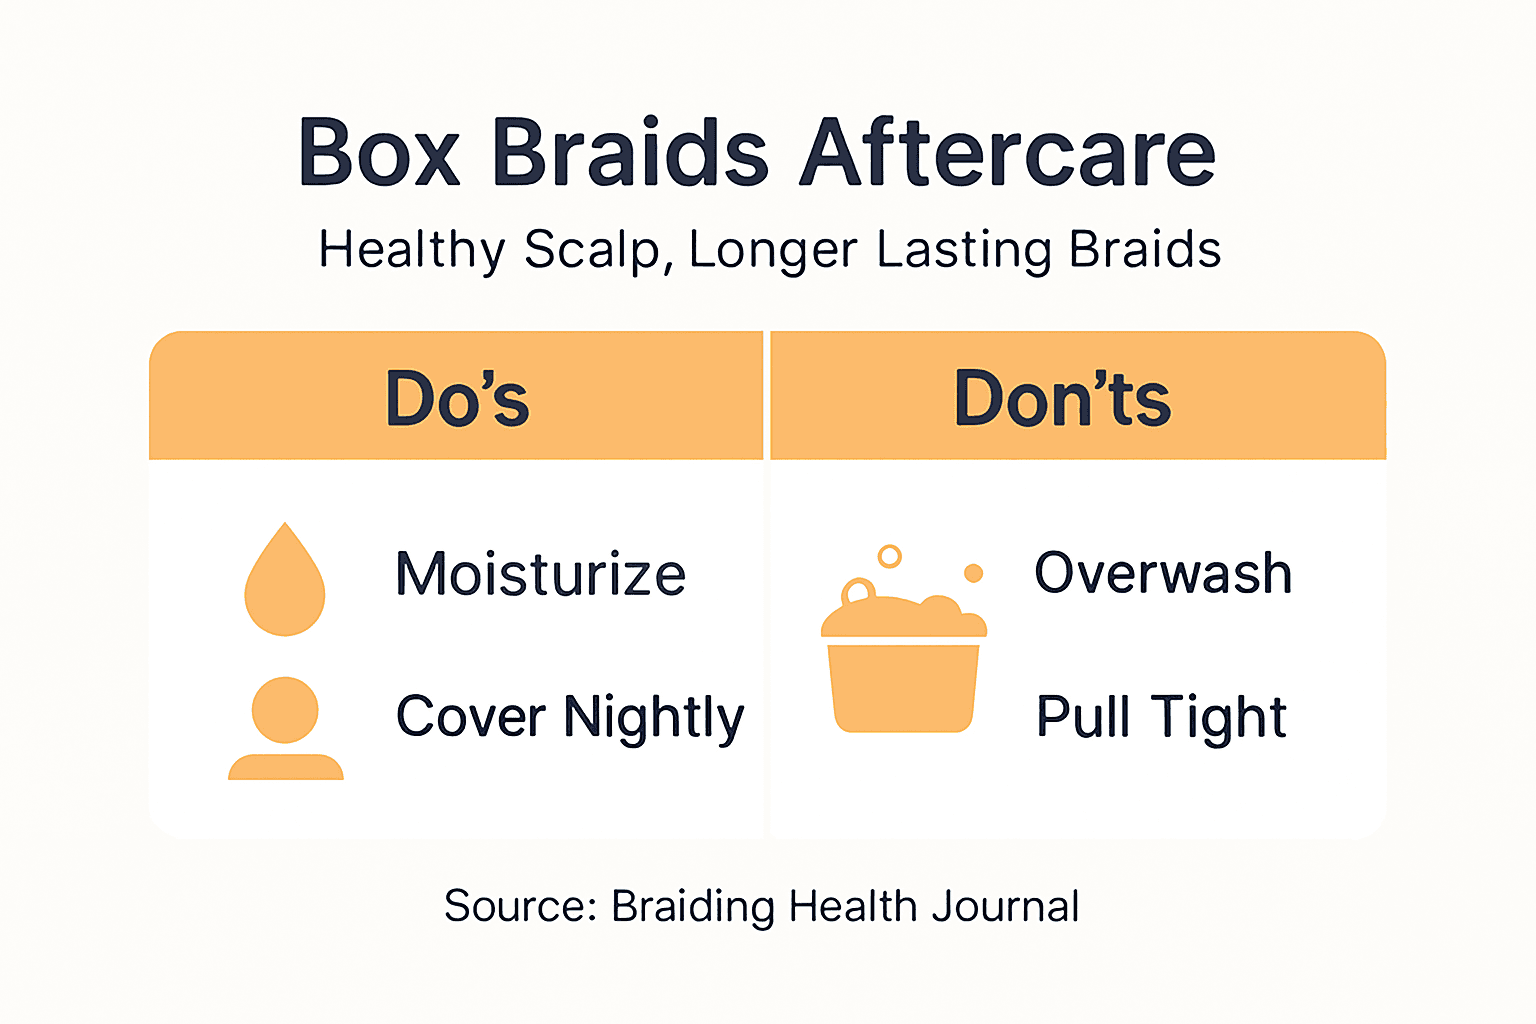
Having set expectations, you need practical guidance on maintaining healthy, long-lasting braids. Moisturize your scalp and braids every 2 to 3 days with lightweight oils like jojoba or a water-based spray to prevent dryness and itching. Focus on the scalp first, then lightly mist the length of the braids.
Cleanse your scalp regularly to avoid product buildup but without disturbing the braids themselves. Use a diluted shampoo on a cotton pad or applicator bottle to clean between the braids. Rinse thoroughly and allow your hair to air dry completely.
Cover your braids at night with a satin or silk scarf or bonnet to reduce friction and breakage. Cotton pillowcases absorb moisture and create friction that frizzes braids and weakens hair. This simple step significantly extends braid lifespan.
Avoid excessive manipulation like constantly touching, pulling, or restyling your braids. The more you handle them, the faster they’ll frizz and loosen. Let your protective style actually protect your hair by leaving it alone.
Follow these aftercare steps for optimal braid health:
- Daily: Lightly massage scalp with fingertips to stimulate blood flow
- Every 2 to 3 days: Apply moisturizing spray or oil to scalp and braids
- Weekly: Cleanse scalp with diluted shampoo using applicator bottle
- Weekly: Deep condition edges and hairline to prevent thinning
- Nightly: Cover hair with satin or silk scarf, bonnet, or pillowcase
- As needed: Smooth flyaways with edge control or mousse
- Monthly: Assess braid condition and plan removal timeline
Pro Tip: Use a light leave-in conditioner to refresh braids without weighing them down, keeping them looking fresh between washes.
For comprehensive box braids care and maintenance strategies, establish a consistent routine from day one. Proper aftercare makes the difference between braids that last 4 weeks and those that remain neat for 8 weeks.
Alternative Approaches and Tradeoffs
To conclude the guide, consider alternative styles and their advantages for different needs. Knotless braids offer gentler tension by starting with your natural hair only and adding extensions gradually as you braid down. This technique eliminates the heavy root tension of traditional box braids.
Crochet braids install faster and cause less scalp strain than traditional box braids because the cornrow base is simple and extensions are looped through rather than braided from the root. Alternative styles for protective braids like knotless or crochet braids reduce tension points compared to traditional box braids, suitable for sensitive scalp individuals.
Here’s how these styles compare:
| Feature | Traditional Box Braids | Knotless Braids | Crochet Braids |
|---|---|---|---|
| Scalp Tension | Moderate to high at roots | Low to minimal throughout | Very low on scalp |
| Installation Time | 4 to 8 hours | 5 to 10 hours | 2 to 4 hours |
| Scalp Comfort | Can cause initial tightness | Gentler, more comfortable | Most comfortable option |
| Longevity | 6 to 8 weeks | 6 to 8 weeks | 4 to 6 weeks |
| Styling Versatility | High with various sizes | High with natural look | Moderate depending on base |
| Maintenance Level | Moderate with regular care | Moderate with gentle handling | Low maintenance |
Each style offers distinct advantages and tradeoffs:
- Traditional box braids provide classic look with proven longevity but require tension tolerance
- Knotless braids offer natural appearance and scalp comfort but take longer to install
- Crochet braids allow quick installation and easy removal but may not last as long
- Sensitive scalps benefit most from knotless or crochet approaches
- Budget-conscious individuals might prefer traditional box braids for cost efficiency
- Time-limited schedules work better with faster crochet installation
- Desired longevity influences choice between 8-week box braids and 6-week crochet styles
Explore knotless and crochet braids to determine which protective style suits your hair health and lifestyle needs. For detailed comparisons, review knotless vs box braids analysis.
Your choice should prioritize scalp health, time availability, and desired appearance. No single style works perfectly for everyone, so consider your unique hair texture, sensitivity, and lifestyle.
Discover Expert Box Braiding Services in Antwerp
After learning how to braid and care for box braids, you might want expert help and quality products locally. Antwerpen Braider offers professional box braids and knotless braids service tailored to your hair needs and cultural expression preferences.

Our professional braiders ensure safe tension levels preserving scalp health and braid longevity, following the same expert guidelines outlined in this article. You’ll experience culturally expressive styling without compromising your natural hair integrity. Explore our premium braiding care products to complement your protective style with quality moisturizers and oils.
Booking a session guarantees a stylish, comfortable braid experience in Antwerp delivered by skilled professionals who understand African hairstyling traditions. We offer convenient at-home services, stylist choices, and personalized consultations to achieve your desired look safely.
FAQ
How long do box braids typically last?
Box braids usually last 6 to 8 weeks with proper care including moisturizing every 2 to 3 days and protective night coverage with satin. Longevity depends on your hair growth rate, maintenance routine, and braid size, with smaller braids generally lasting slightly longer.
Can I braid box braids myself or should I go to a professional?
DIY braiding is possible with practice but risks uneven tension and scalp damage for beginners who may not recognize proper tension levels. Professionals offer expertise, faster installation in 4 to 6 hours, and healthier braid results with consistent section sizes. Consider your experience level, time availability, and budget; DIY box braiding tips can help you decide.
How can I avoid scalp pain when braiding box braids?
Use moderate tension not exceeding 15% scalp pull to avoid pain and long-term traction alopecia damage. Take breaks every 2 to 3 hours during braiding and communicate any discomfort to your braider immediately. Moisturize your scalp regularly to reduce dryness and sensitivity; detailed braid tension guidelines explain safe practices.
What products should I use to maintain box braids?
Use lightweight oils like jojoba or argan for scalp moisturizing and water-based sprays for braid refreshing without buildup. Avoid heavy creams or butters that create residue and attract lint. A diluted shampoo works best for weekly scalp cleansing, and satin or silk accessories protect braids at night.
When should I remove my box braids?
Remove box braids after 6 to 8 weeks maximum to prevent matting, tangling, and excessive new growth strain on your scalp. Signs for earlier removal include significant frizzing, loosening at roots, persistent itching despite moisturizing, or visible scalp irritation. Never leave protective styles in longer than 8 weeks regardless of appearance.
Recommended
Share this article: